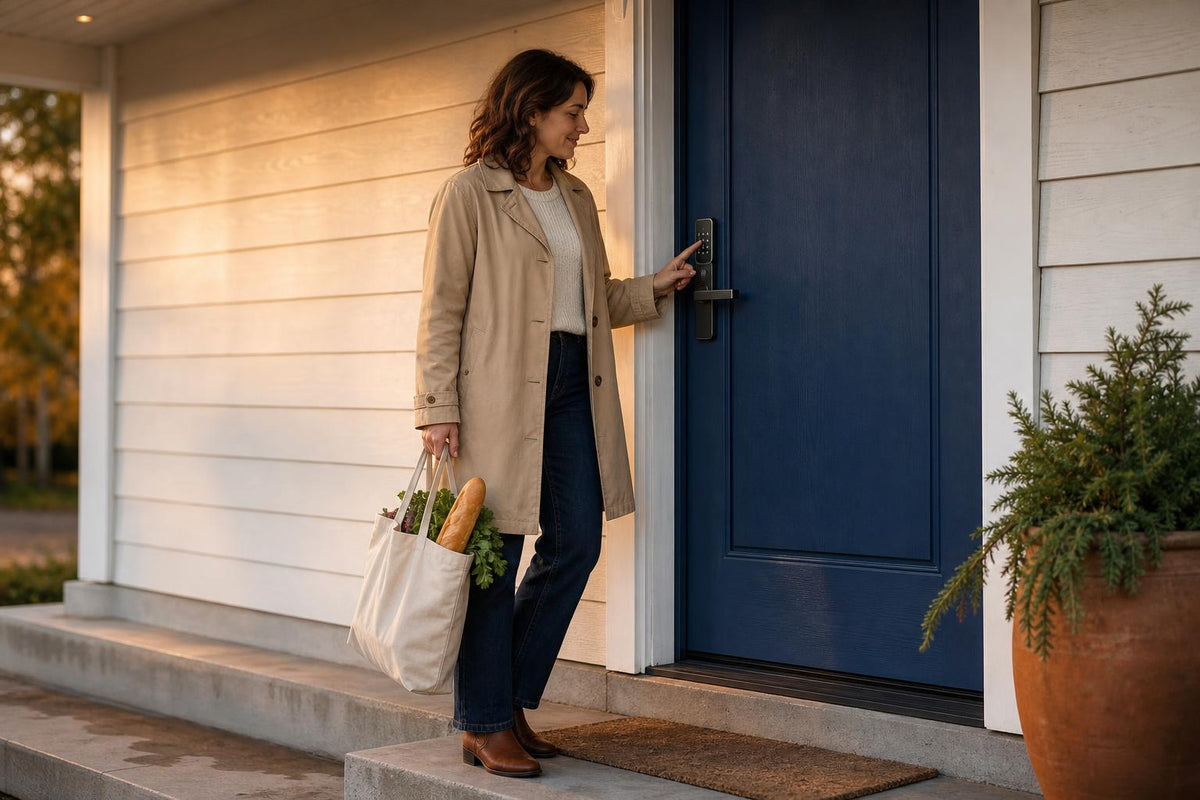
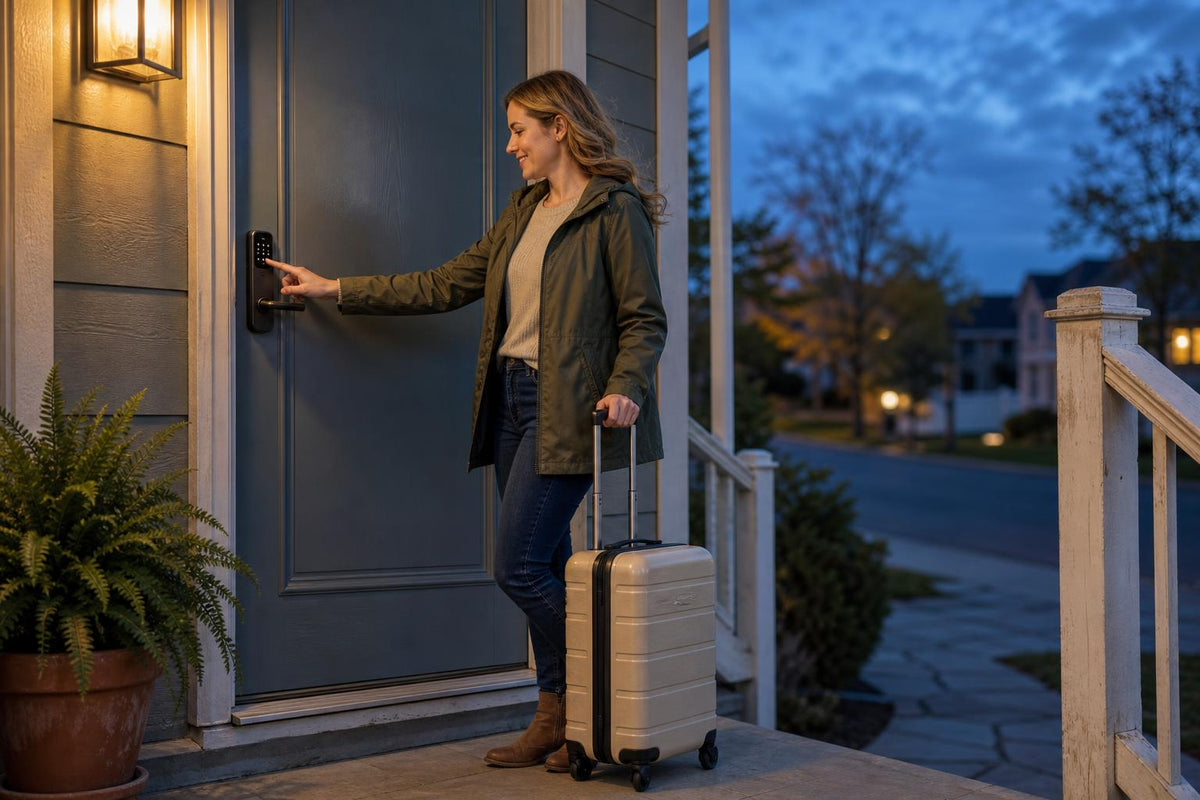
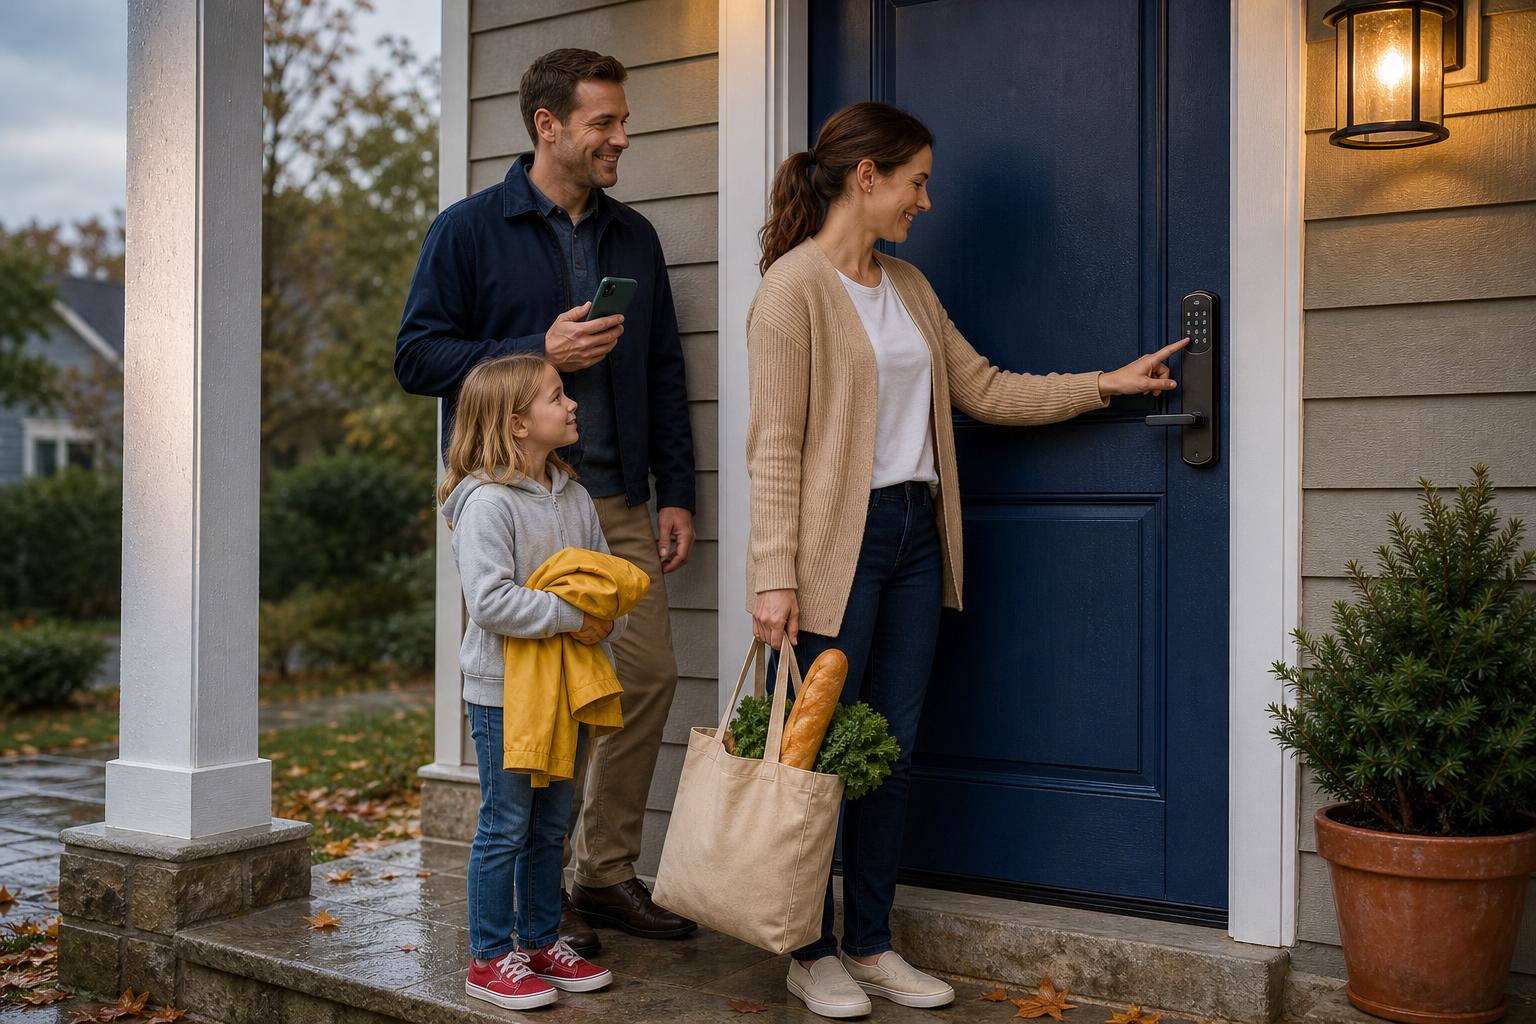
Thinking about upgrading to a smart lock? Here's some great news: this is one popular DIY project most homeowners can tackle in under an hour. Doing it yourself not only gives you a great sense of accomplishment but also saves you a hefty fee for professional help, a major benefit for anyone looking for a smart lock for their front door without professional installation.
The key to success isn't complicated tools or technical wizardry. It's all about careful preparation and knowing what to look out for. This guide on how to install a smart lock yourself will walk you through everything, from checking compatibility to the final app setup, ensuring a smooth and successful installation.
Before You Begin: The 5-Minute Smart Lock Compatibility Check
Let's be real: the most frustrating part of any DIY project is realizing something doesn't fit halfway through. Taking a few minutes to check your door's compatibility is the single most important step to avoid a return trip to the store or, worse, a damaged door.
Measure Your Door's Critical Dimensions
Grab a tape measure and quickly check these three measurements. Most smart locks, including those from SAWHERO, are designed for standard American doors, but it's always best to verify.
- Door Thickness: Your door should be between 1 3/8 inches and 2 inches thick. This is the most common range for residential doors.
- Backset: This is the distance from the edge of the door to the center of the lock hole. It will typically be either 2 3/8 inches or 2 3/4 inches.
- Bore Hole Diameter: The large, main hole where the lock body sits should be 2 1/8 inches in diameter.
Verify Your Existing Lock Type
The vast majority of DIY-friendly smart locks are made to replace a standard single-cylinder deadbolt. This is the common lock you see with a keyhole on the outside and a thumb-turn knob on the inside.
However, they are generally not compatible with less common types like mortise locks (where the latch and deadbolt are in one large cartridge) or double-cylinder deadbolts (which require a key on both sides). Checking this now saves a major headache later.
Gather Your Simple Toolkit
You don't need a professional's toolbox for this job. For most installations, the essentials are surprisingly simple. Brands that prioritize the DIY experience, like SAWHERO, design their locks for minimal hassle.
You'll definitely need a Phillips head screwdriver and a tape measure. In some cases, you might need a flathead screwdriver if your old lock has one. A drill is usually not necessary unless you need to slightly enlarge a hole, which is rare for standard doors.
How to Install a Smart Lock Yourself: The Core Steps
With your compatibility check done, it's time for the main event. We've broken the process down into three core stages. Just follow along, and you'll have your old lock out and your new smart lock in place before you know it.
Removing the Old Deadbolt Assembly
First, open your door so you don't accidentally lock yourself out. Start on the inside by unscrewing the two screws on the thumb-turn piece. Keep a hand on the exterior part of the lock so it doesn't fall to the ground once it's loose.
A great pro tip is to place a piece of tape over the outside keypad to hold it in place while you work. Once the interior and exterior pieces are off, remove the two screws on the edge of the door to slide out the old bolt assembly.
Fitting the New Latch and Exterior Keypad
Slide the new latch (the bolt mechanism) into the side of the door. Make sure any marking that says "UP" is facing, well, up. Secure it with the two screws provided, but don't overtighten them just yet.
Next, take the exterior keypad and carefully feed its data cable through the door hole, underneath the latch. Position the keypad so it's straight and flush against the door. This is the part that gives your home its modern, secure look.
Securing the Interior Assembly and Powering Up
From the inside, guide the data cable through the new metal mounting plate and use the long bolts to attach it to the exterior keypad. Now, plug the data cable securely into the port on the interior assembly. Mount this piece onto the plate and fasten its screws.
Only after everything is fully assembled should you insert the batteries. Your lock will likely run a quick automatic calibration process, sometimes called "handing," where it learns the direction your door opens. This automated step simplifies the process of setting up your smart lock for a left or right-hand door.
Full Replacement vs. Retrofit: Which DIY Installation is Easier?
When you shop for a smart lock, you'll see two main types: full replacement and retrofit. Both are DIY-friendly, but they suit different needs. A full replacement gives you an entirely new lock mechanism, while a retrofit lock like the August smart lock only replaces the interior thumb-turn, letting you keep your old keys. As noted in reviews from publications like PCMag, this makes them a favorite for renters.
Decision Matrix: Choosing Your DIY-Friendly Smart Lock
Here’s the deal: choosing the right type depends on your priorities. Do you want a complete security and style upgrade, or do you need to keep your existing keys? This table breaks it down.
| Feature | Full Replacement (e.g., SAWHERO) | Retrofit (e.g., August) |
|---|---|---|
| Installation Complexity | Medium (replaces the whole lock) | Low (only replaces the interior knob) |
| Time Required | Approx. 30-45 minutes | Approx. 10-15 minutes |
| Keep Original Keys? | No, comes with new keys for backup | Yes, uses your old deadbolt and keys |
| Aesthetic Cohesion | High, matching interior and exterior | Medium, exterior looks unchanged |
| Best For | Homeowners wanting a full security upgrade and a new look. | Renters or anyone who wants a non-damaging install and must keep their keys. |
| SAWHERO Solution | Offers integrated, high-security full replacement locks designed for a friendly install. | Not applicable. |
Bringing Your Lock to Life: App Setup and Configuration
The hardware is installed, but the "smart" part comes next. Connecting your lock to your phone is where the real magic happens, unlocking features that make life easier and more secure. Don't worry, this part is just as simple as the physical installation.
Connecting the Lock to Your Phone
First, download the manufacturer's app from your phone's app store. The app will guide you through creating an account and pairing your phone with the lock, usually via Bluetooth.
Many modern locks, like those from SAWHERO, connect directly to your home's Wi-Fi without needing a separate hub or gateway. This design significantly simplifies the setup process, getting you connected in just a few taps.
Setting Up Access and Custom Features
Once connected, you can start customizing. The first thing you'll do is set your master code. From there, you can create unique codes for family members, dog walkers, or house cleaners.
This is also where you can grant temporary access, a game-changer for Airbnb hosts or when you have guests visiting. You can set a code to work only for a specific time, giving you complete control over who enters your home, and when.
Troubleshooting Common Smart Lock Installation Problems
Even with the best preparation, you might hit a small snag. The good news is that most common smart lock installation problems are easy to fix. Here are the top issues people run into and how to solve them quickly.
What to Do If the Bolt Jams or Misaligns
This is the number one issue. If you hear the motor straining or the bolt doesn't fully extend, it's almost always an alignment problem. The cause is usually that the hole in your door frame (the strike plate hole) isn't deep enough or doesn't line up perfectly.
The hole should be at least 1 inch deep to fully accommodate the bolt. You can often fix this by using a chisel or a drill to remove a little extra wood from the door frame, allowing the bolt to slide in smoothly.
Solving Rapid Battery Drain After Installation
If your batteries are dying in weeks instead of months, the motor is working too hard. According to home security experts at CNET, a perfectly aligned door allows the bolt to move without resistance, preserving battery life.
Another potential cause is a weak Wi-Fi signal. If the lock constantly struggles to connect to your router, it will use more power. Try moving your router closer if you suspect this is the problem.
Fixing Unstable Wi-Fi or Bluetooth Connectivity
If your lock is frequently offline, check the distance to your Wi-Fi router. Physical barriers like metal doors or thick concrete walls can also block the signal. Ensure there's a clear path for the signal if possible.
For more detailed network troubleshooting steps or specific setup questions, checking the manufacturer's online resources is always a good idea. You can find more guides in our help center.
Frequently Asked Questions About DIY Smart Lock Installation
You've got questions, we've got answers. Here are some of the most common things people ask when they're about to install a smart lock themselves.
How long does it typically take to install a smart lock yourself?
For most people replacing an existing deadbolt, the entire process takes between 30 and 60 minutes. If you're comfortable with a screwdriver, you'll likely be on the faster end of that range.
Do I need a drill to install a smart lock?
Usually, no. If your door is standard, a Phillips head screwdriver is all you need for the lock itself. A drill is only needed for rare cases, like drilling a brand-new hole or needing to slightly enlarge the strike plate hole in the door frame.
Can I still use my physical key with a smart lock?
Yes, this depends on the model. Full replacement locks like SAWHERO provide a new set of physical keys for backup access. Retrofit-style locks are designed to work with your existing key and deadbolt.
What happens if the smart lock's batteries die?
You won't be locked out. Most smart locks give you plenty of warning with app notifications and beeping sounds when the battery is low. If they die completely, many have backup options. For instance, the SAWHERO A1 features a Type-C port for emergency power, in addition to the physical keyway.
Is it really cheaper to install a smart lock myself?
Absolutely. A professional locksmith can charge anywhere from $100 to $250 just for installation. By doing it yourself, you save that entire cost. That's why easy-to-install models like the SAWHERO A1 Smart Lock are so popular among homeowners.
What if my door is warped or misaligned?
It's highly recommended to fix your door alignment before installing a smart lock. A door that sticks or doesn't close smoothly will cause the lock's motor to strain, leading to jams and significantly reduced battery life.
Your Home is Upgraded: What's Next?
Congratulations! You've successfully installed your own smart lock. You've not only saved money but also taken a major step in upgrading your home's security and convenience. With full control over your home's entry right from your phone, you can now explore features like temporary access codes and entry logs.
Ready for the next step in home security? Explore the integrated, DIY-friendly design of the SAWHERO A1 Smart Lock and see how easy securing your home can be.